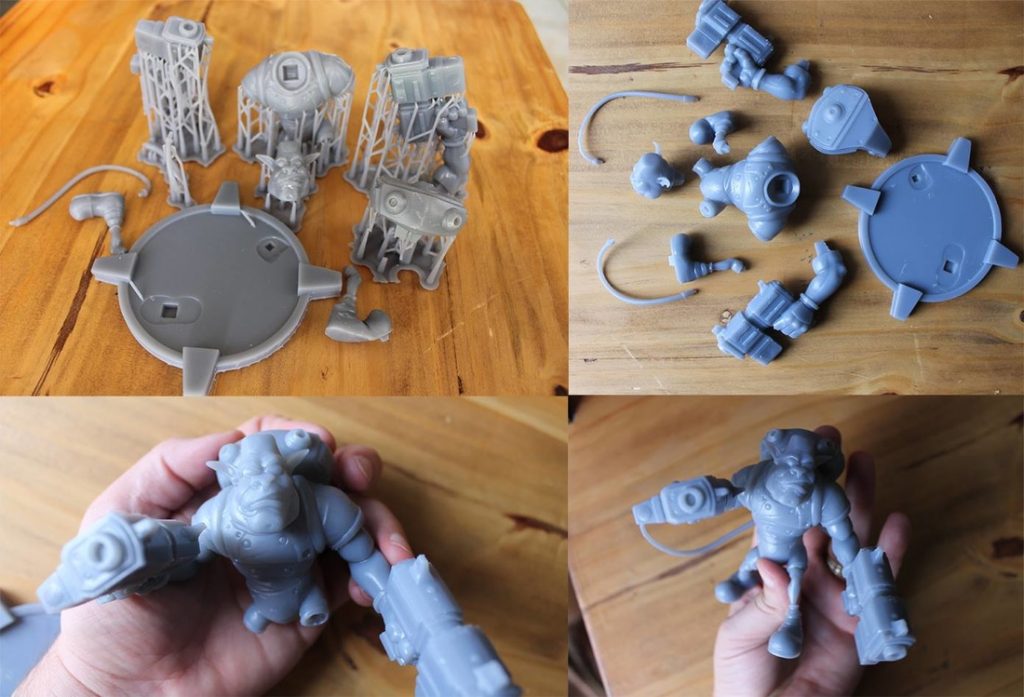
Included below are images of some of the most common tools you’ll use in the finishing process.
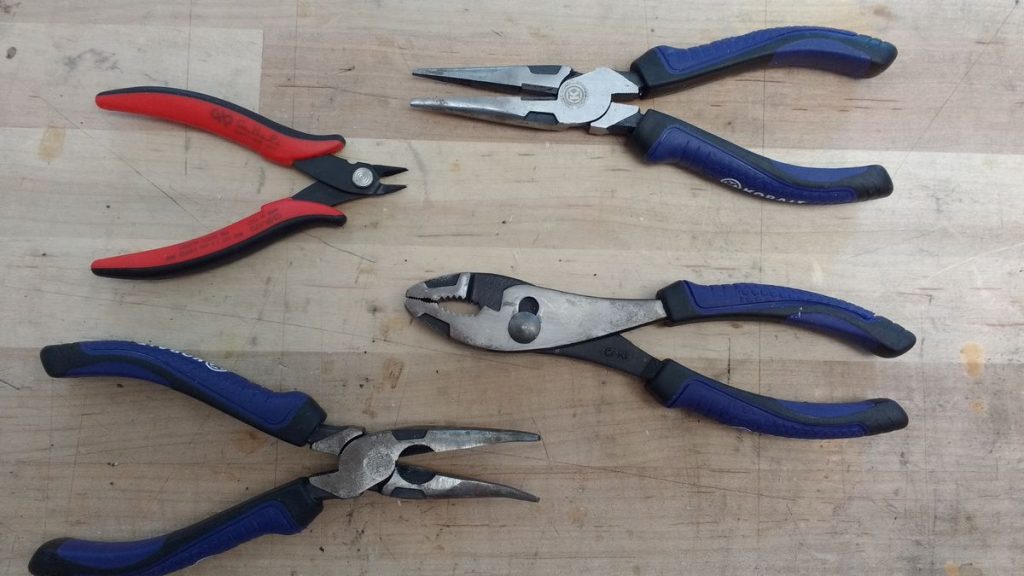
Pliers (blue handles) and snippers (red handles). Great for ripping support material off and snipping it away.
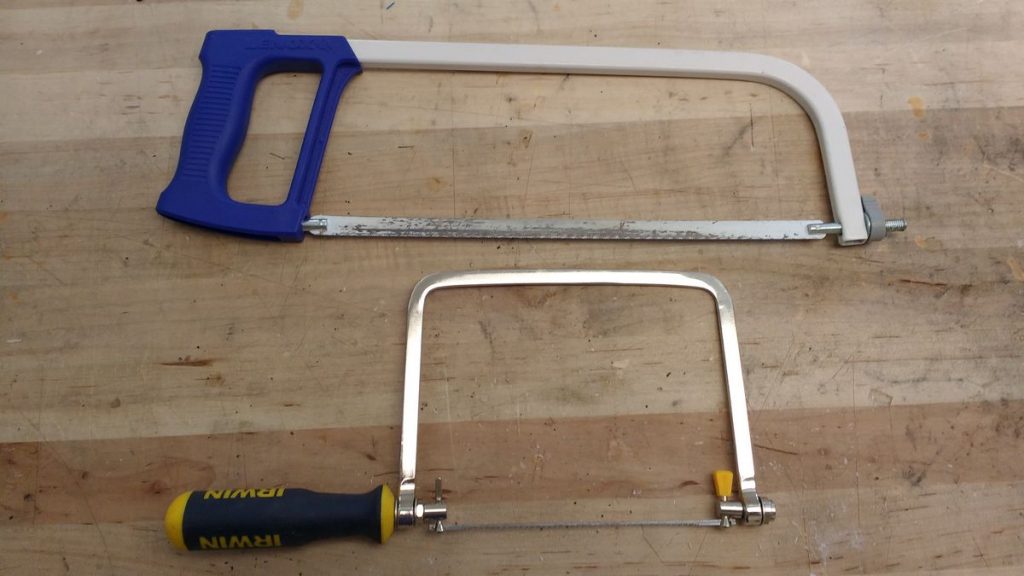
Hacksaw (top) and coping saw (bottom). Use for making big alterations to a printed part.
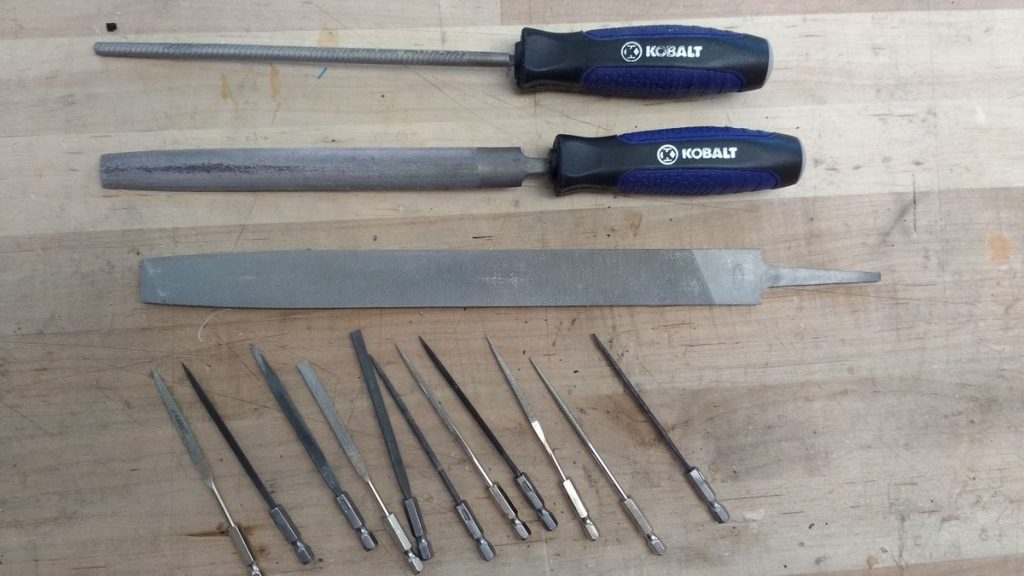
Files. Good for smoothing the surface of a print after removing support. Choose the shape and size that’s best suited for your part(s). The MakerSpace has standard files for general use, and needle files for detailed work.
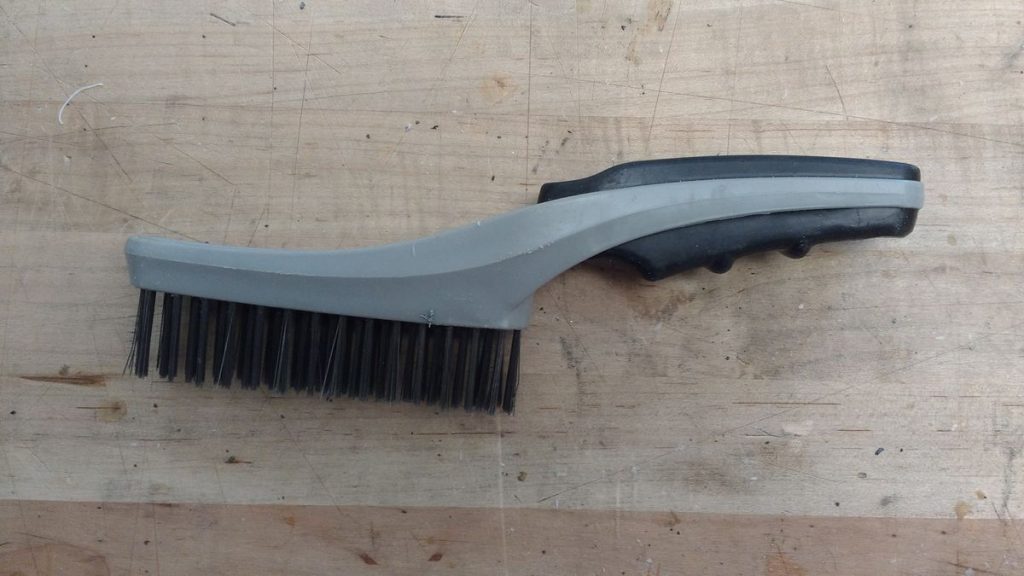
Wire brush. The files sometimes get clogged up. Use the wire brush to clean the files.
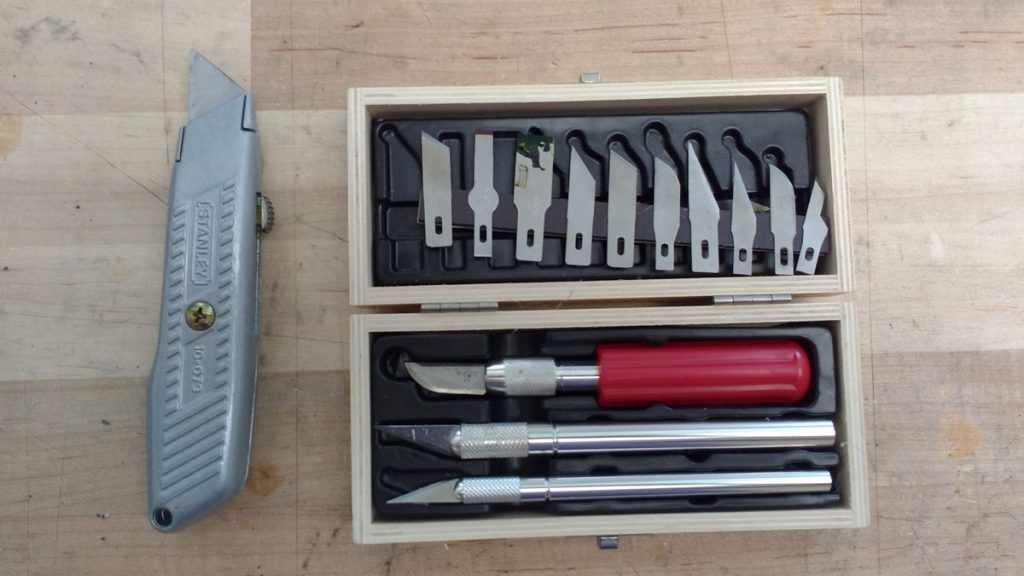
Razors. The box cutter and xacto knives are useful for precise shaping. Please, for the love of all that is good in the world, always cut AWAY from your hand so that when you slip you’ll slice through air and not flesh.
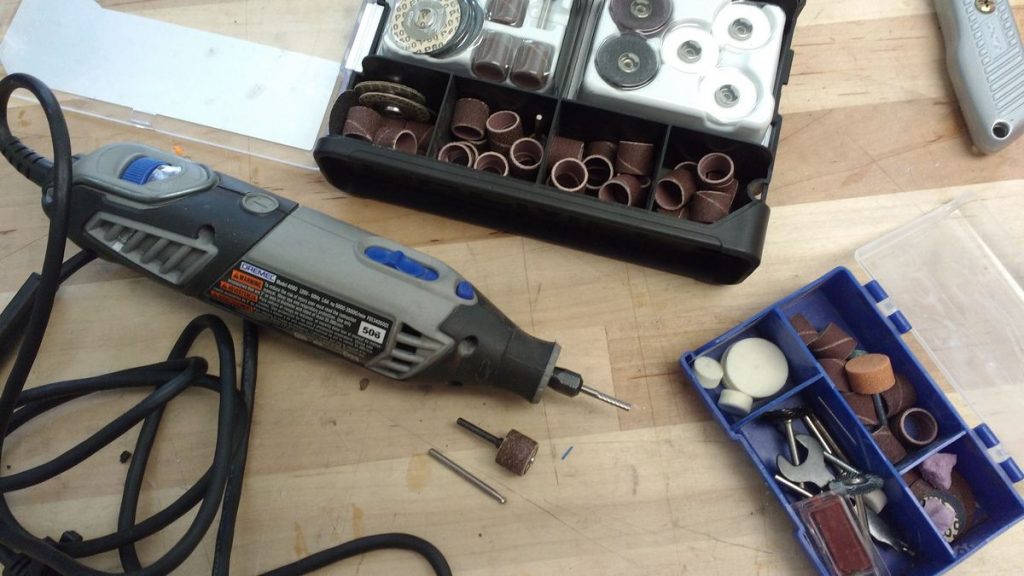
Dremel. The dremel has a variety of abrasive bits for smoothing, shaping, and cutting. Use with safety glasses.
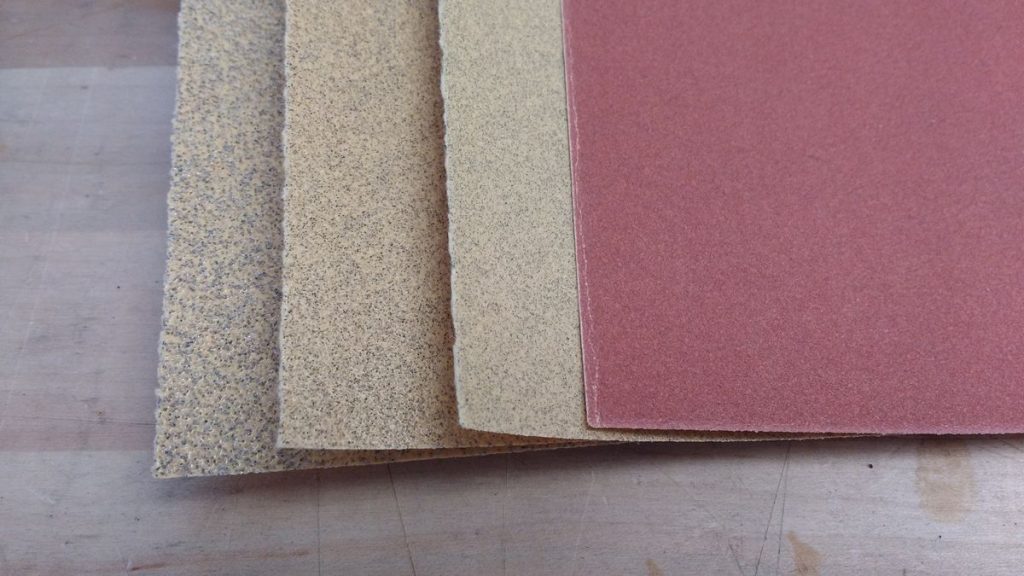
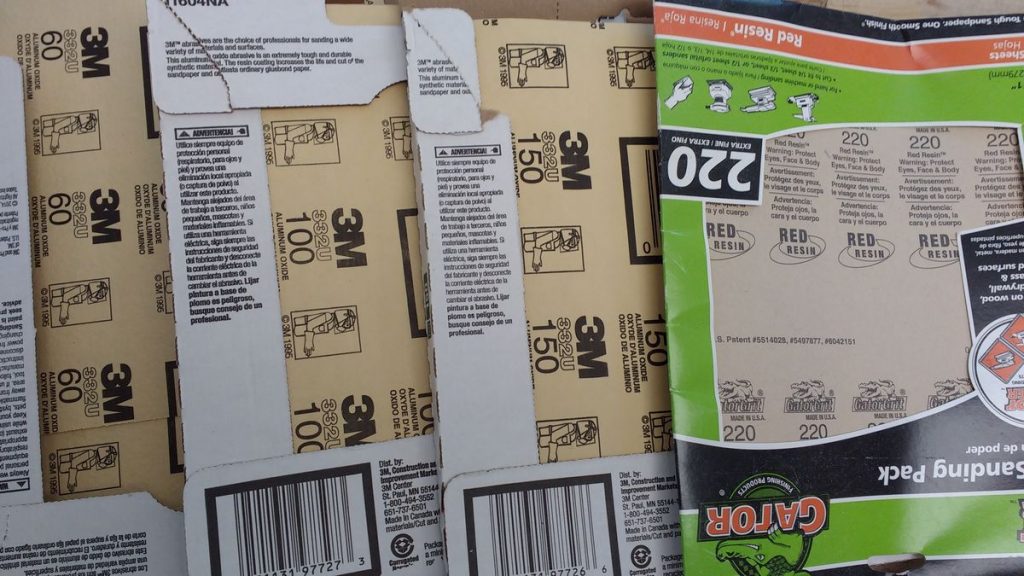
Sandpaper. Use coarse grits like 60 and 100 grit for rough shaping, and fine grits like 150 and 220 for smoothing. The grit is specified on the back of the sheet.
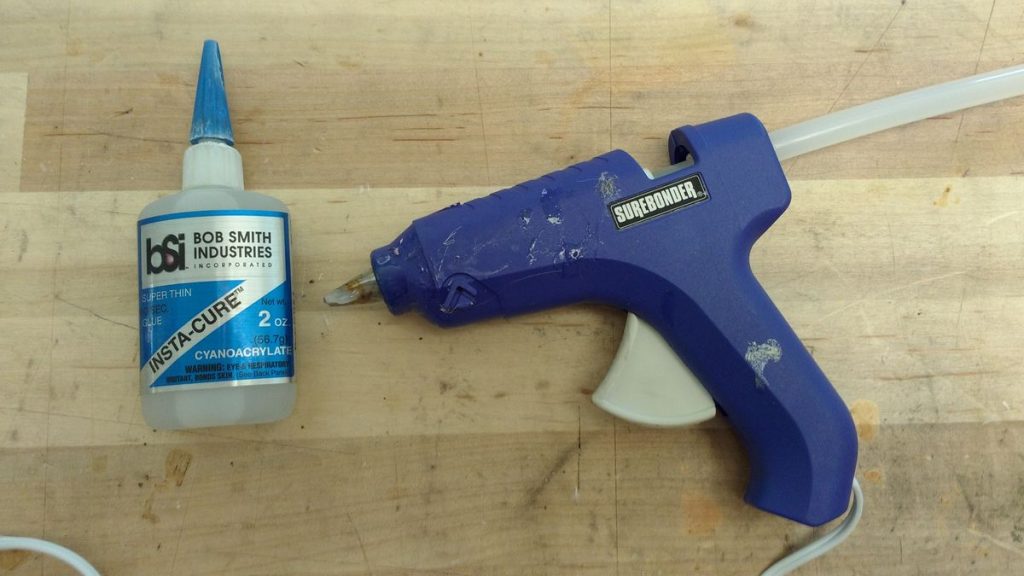
Glue. Superglue (left) is great for tight fitting parts, but it won’t fill gaps. Hot glue (right) is better for big gap-filling glue jobs. Please use caution with superglue and don’t get it on your skin or in your eyes!
